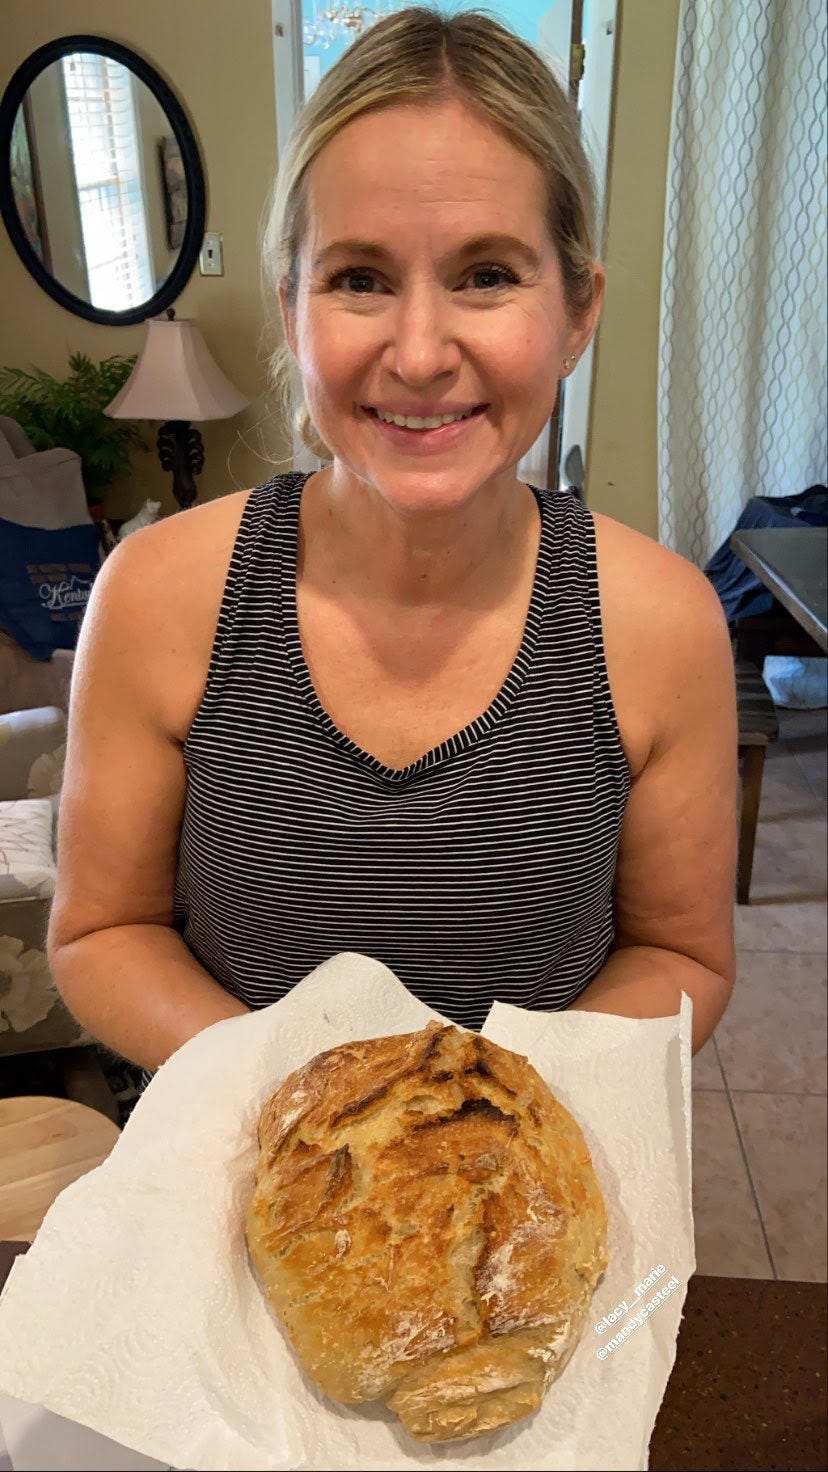
I present to you the easiest no-knead artisan bread. Actually that’s a picture of my friend Mandy who came for the weekend to cook all the things. We had so much fun.

In a big bowl measure:
3 cups all-purpose flour
1T kosher salt
½ t yeast (not rapid rise)
Mix together.
Add 1.5 cups HOT tap water. Mix until all incorporated. This should take 30 seconds. Really, just enough to mix wet and dry.
Cover bowl with a lid or plastic wrap.
Place out of a draft for 12-24 hours on the counter.
Baking
Place dutch oven* in the oven and heat to 450* (or 425* convection).
While oven is preheating, dump dough onto a sheet of parchment paper. Depending on how the dough comes out of the bowl, you may not need to shape much. Just lump it in a dough pile. Because I don’t want dough to stick to my hands, I really don’t touch it much. Don’t fall prey to being all touchy with the dough. Less is best with this dough. Mound it up and leave it alone.
Once oven is heated, lower loaf in the parchment paper (as a sling) into the very hot pot then place the lid on it. Bake 23 minutes with the lid on. Remove lid and bake an additional 23 minutes to perfection. Allow to cool on a wire rack for 15 minutes before slicing.

Notes
*dutch oven is a fancy name for soup pot with an oven safe lid.
Scoop, don’t weigh the flour, and make sure the flour is mounded ever so slightly over the edge of the cup measure. If you don’t use enough flour the dough will be super sticky when it’s time to bake. The bread will still taste good; the shape will be flatter with not enough flour.
If using finer salt (like Redmonds) and not kosher or coarse, reduce the amount.
If using yeast from an envelope, write the date on the outside and fold it closed. Drop in a sandwich bag and refrigerate for tomorrow. This bread is so good and easy, you’ll make it two days in a row. Use the yeast within 5-6 months.
Time variables - this recipe was given to me from a friend who got it from an Alaskan bed and breakfast. I can imagine that kitchen was colder than mine. I’ve found that 10-14 hours is just about perfect in my Southern kitchen. More time when it’s colder.
This loaf is very flexible and welcoming to extra flavorings like cheese, spices, dried fruit, or cinnamon sugar. If this is your first time baking bread, I highly recommend making a few plain loaves before graduating to adding extras.
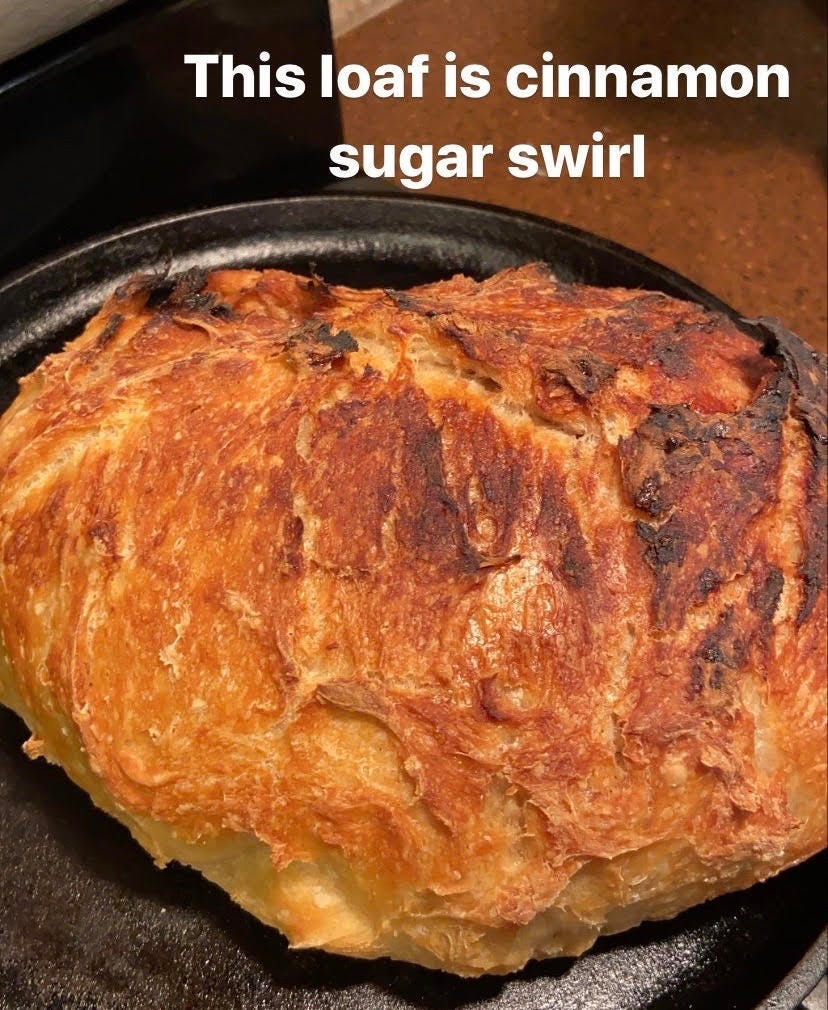
Because it bakes so long and hot, I highly recommend all the add-ins to hide inside the dough. Otherwise they burn on the outside or make the crust too hard. For best results, hide the extras while dough is in the bowl, just before flipping it onto the parchment sling. When we made the cinnamon loaf this weekend, while the dough was in the bowl, we made a line of sugar across the bowl (maybe 1/4c sugar). Generous cinnamon on top of the sugar, then poke the cinnamon sugar inside the dough with the side of a spatula or butter knife.
If anything pops out during the transfer, just shove it back inside the dough. If using cinnamon sugar, any sugar that gets on the parchment will burn so I like to wipe it off so it doesn’t set off my smoke alarm.
Inspiration
1/ There is power in naming things. If you or someone you know struggles with anxiety, this 3 minute video was helpful to our family this week.
2/ A friend told me about the website for kids called My First Sale that encourages entrepreneurship. The kids watch courses on being entrepreneurs before getting started. Early in our parenting we received sage advice to always open our wallet when kids have a creative business idea. I love supporting kid entrepreneurs!
Please let me know if you make the bread! Tag me in your Stories if you’re on Instagram.
Have a great weekend.
Julie


Hi Julie, would this work using freshly milled rye, spelt or any other type of fresh flour?